Manata Scanner
1 / 5
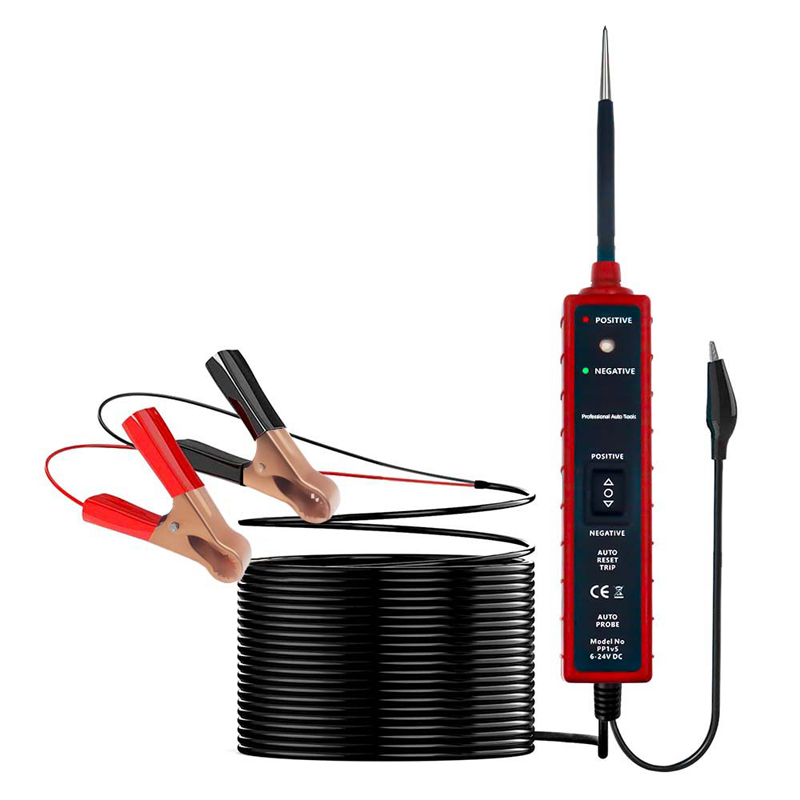
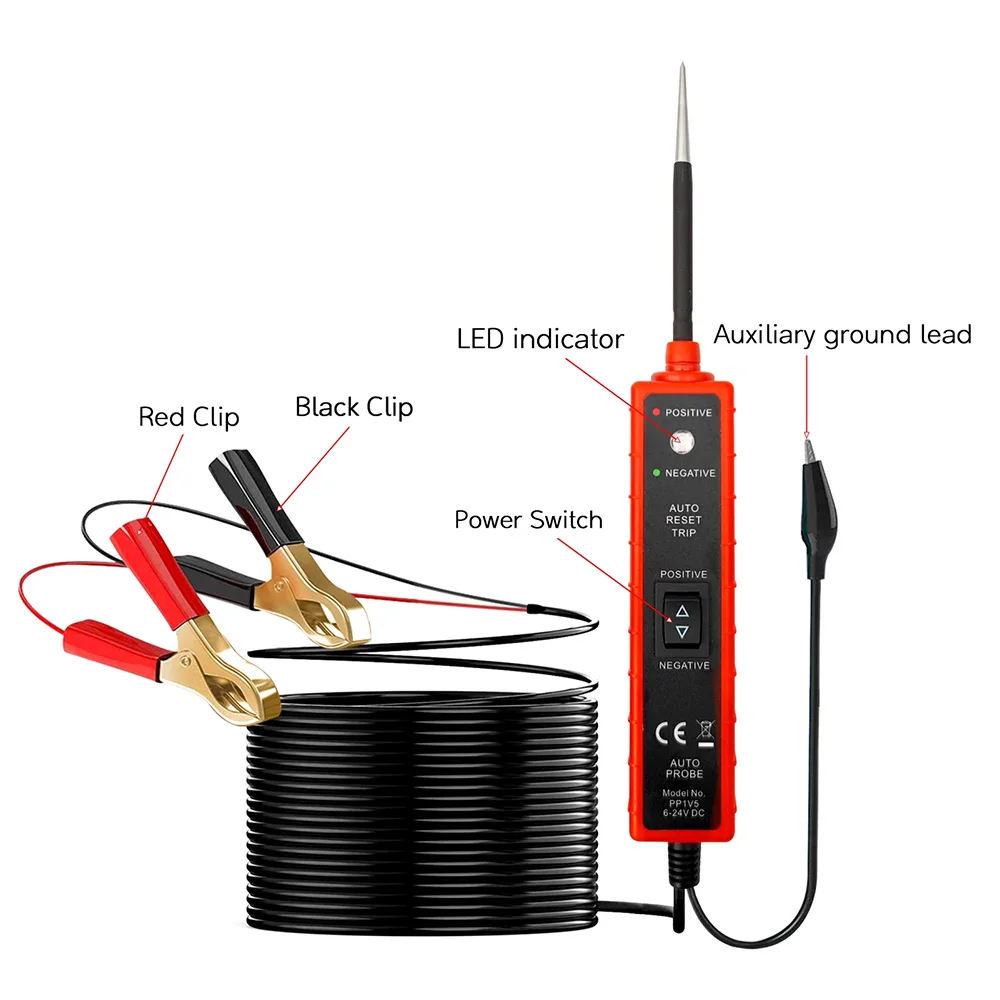
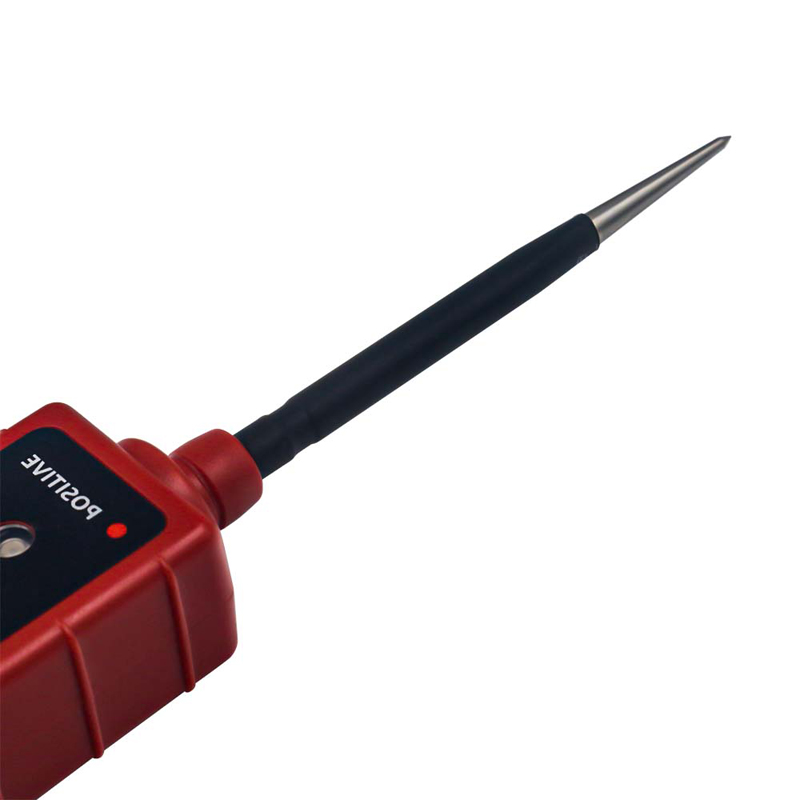
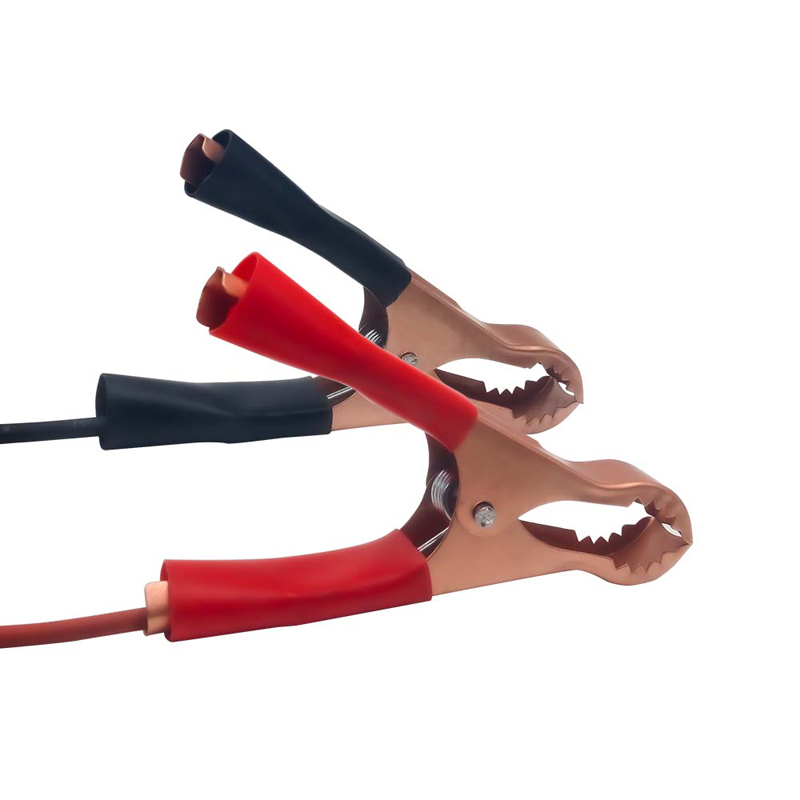
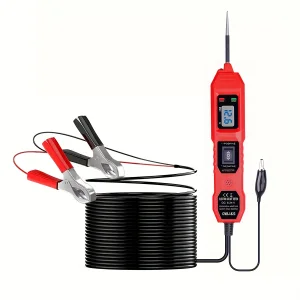
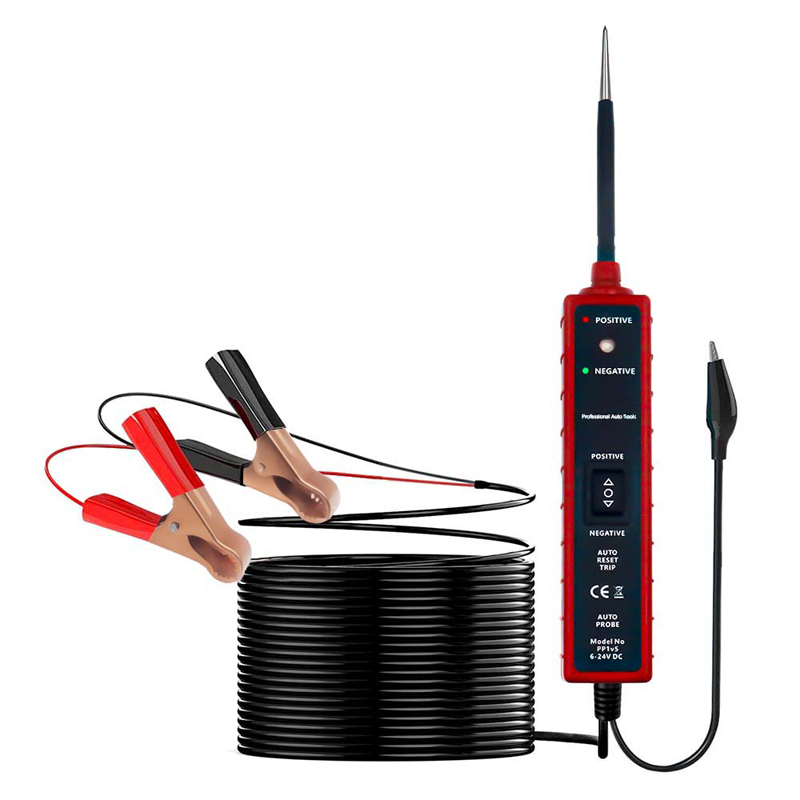
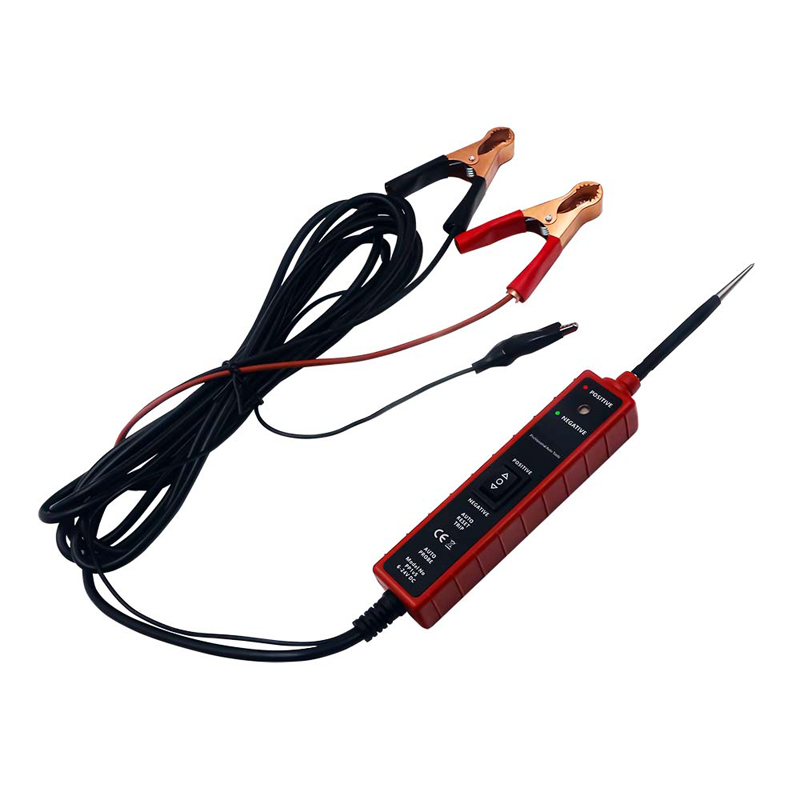
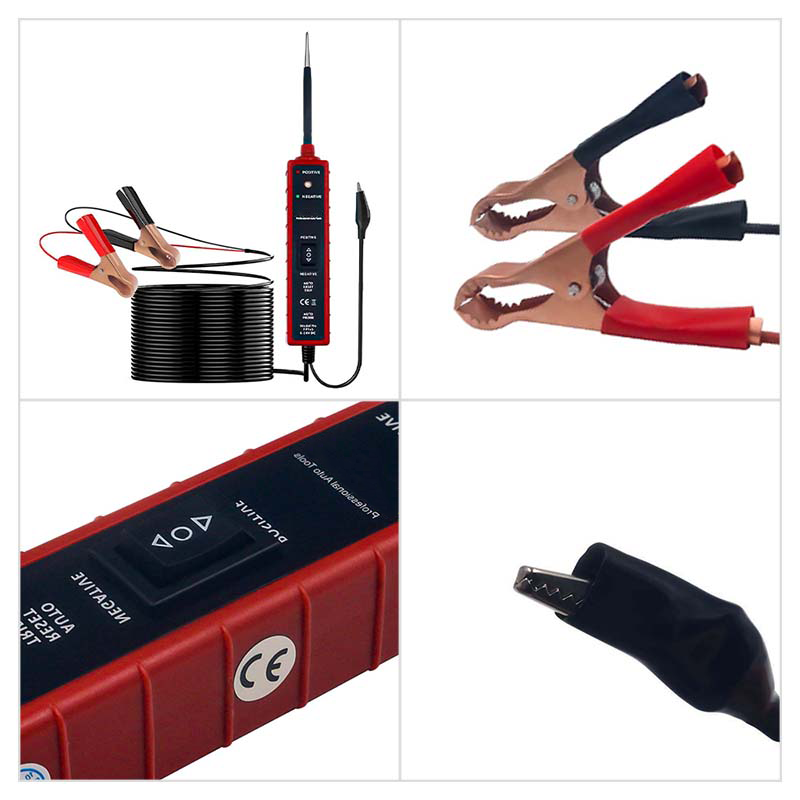
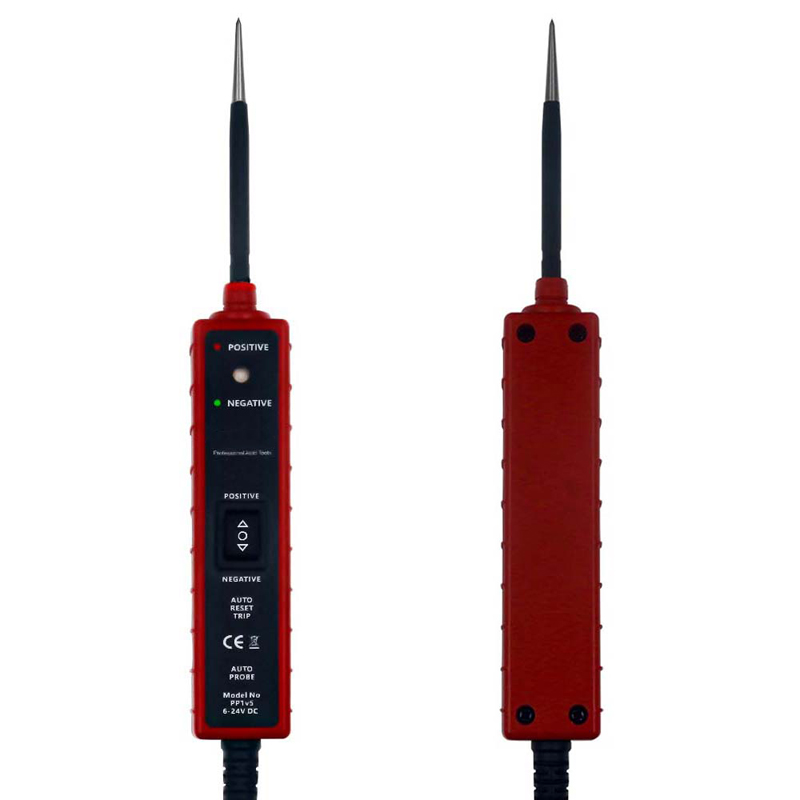
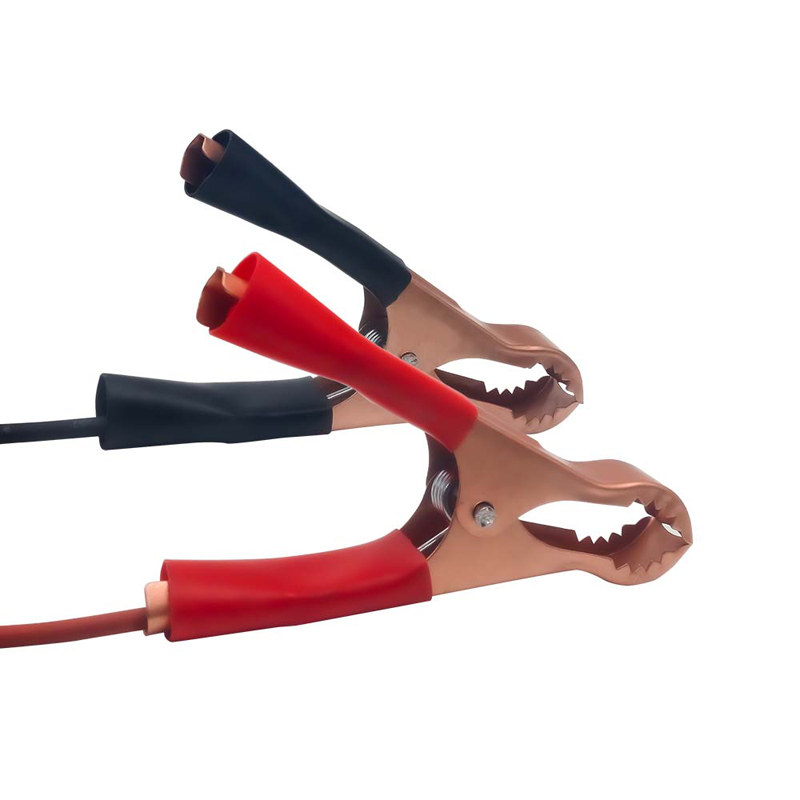
This tool can test uncertain polarity of contact in the circuit of vehicle. Unroll the leads. Connect red clip to positive terminal of vehicle's battery. Connect black clip to negative terminal of vehicle's battery. Contact the probe tip to a positive (+), the LED should light RED. Contact the probe tip to a negative (-), the LED should light GREEN.
Unroll the leads. Connect red clip to positive terminal of vehicle's battery. Connect black clip to negative terminal of vehicle's battery. Connect auxiliary ground lead to one side of tested wire along with probe tip connecting to the other side. When continuity is present, the LED will light GREEN. If LED does not light up, no continuity present.
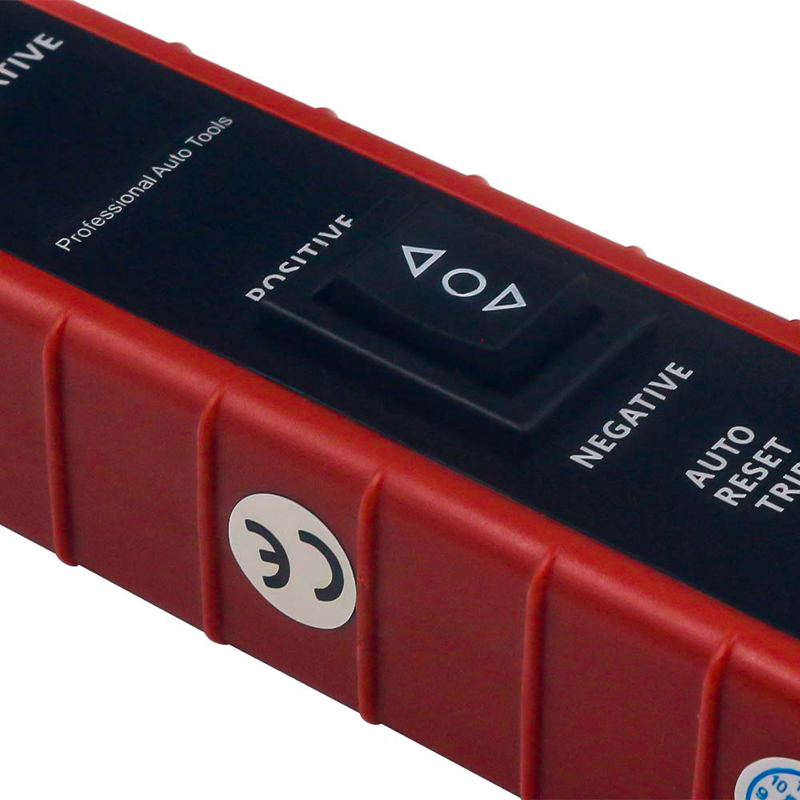
Unroll the leads. Connect red clip to positive terminal of vehicle's battery. Connect black clip to negative terminal of vehicle's battery. Connect auxiliary ground lead to negative terminal of tested component. Press button to (-) side with LED lighting RED. Contact the probe tip to positive terminal of tested component to active the component. If LED turns to GREEN with buzzer sounding, stop testing and check the component if defective or not, or rating current of component is higher than that of this tester.
Unroll the leads. Connect red clip to positive terminal of vehicle's battery. Connect black clip to negative terminal of vehicle's battery. When component's control switch is located at the side of positive terminal of component, press button to '-' side to have LED light RED. Contact probe tip to the positive terminal of component. The component will be activated.
The black clip and auxiliary ground lead are connected directly through the unit. User can consider it as a long jumper test lead by leaving the red clip disconnected from the battery.
For some components of which negative terminal is required to be well grounded for large current flowing, this tester is a good tool to test their grounding. Unroll the leads. Connect red clip to positive terminal of vehicle's battery. Connect black clip to negative terminal of vehicle's battery. Press button to "_" side, the LED should light RED, and positive voltage is supplied. Then have the probe tip quickly contact negative terminal of component as close as possible, LED indicator turns to GREEN with buzzer sounding, which means it is well grounded. If NOT, the LED remains RED without any buzzer.
Unroll the leads. Connect red clip to positive terminal of vehicle's battery. Connect black clip to negative terminal of vehicle's battery. Press button to "_" side, the LED should light RED, and positive voltage is supplied. Remove the blown fuse from the fuse box and begin tracking from two terminals of the fuse socket. Use probe tip quickly contact wire. If LED lights GREEN with buzzer, short circuit or overloading component appears in this side. Please note this wire's color or identification code. Follow the wire as far as you can along the wiring harness. Locate the color-coded wire in the harness and expose it. Cut the wire. Follow the wire in the shorted direction and repeat this process until the short is located. If there are check the components individually if good or not.
| Model Number | ET2213 |
|---|---|
| Operation voltage | 6-24V DC |
| Cable length | About 4M |
| Overload protection | 7A (When the current exceeds 7A, this item will disconnect the current automatically.) |
| Weight | About 200g |
| Material Type | Plastic and stainless |
| Length | 225mm/8.85inch |
| Lead Length | About 4M/157.5inch |
| Item Width | 30mm/1.18inch |
| Material | Plastic, Copper |
| Package List |
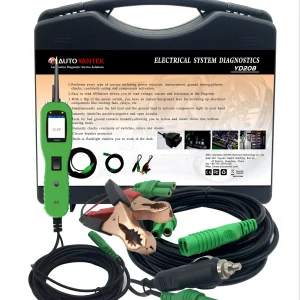
1 × Power Scan 1 × Probe Tip 2 × Battery Hookup Clips 1 × User Manual |